To-Dones

Well, at least I was able to follow through with my final list of to-dos!

  • I gathered together like screws into ziplock bags! An easy win for progress!
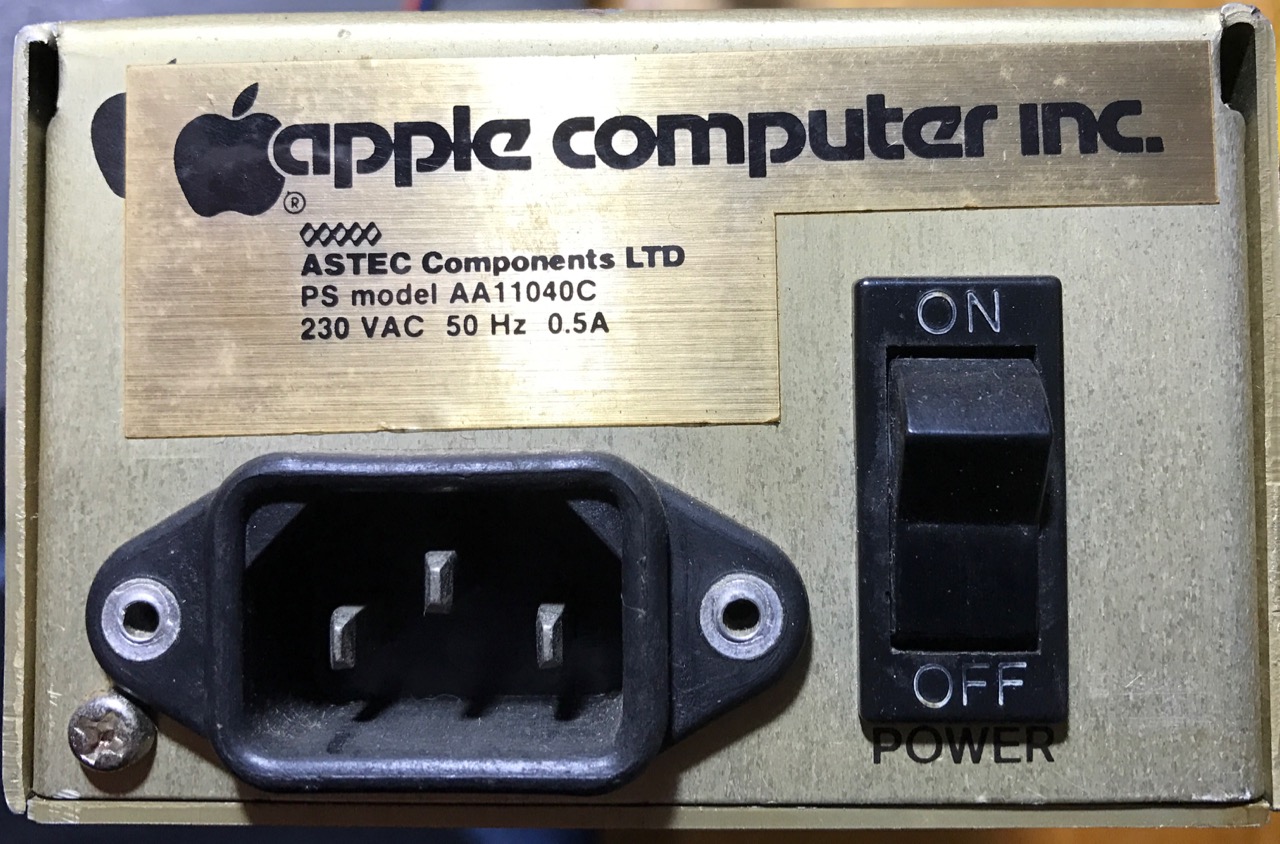
  • I cracked open the remaining three PSUs! “Pro” Tip*: after drilling the head off the rivet, be sure to push the remaining rivet body into the case so the PSU baseplate can be removed (I found a Torx 8 screwdriver head worked well for this) – once the base is removed you can easily pop the rivet bodies all the way through the rest of the case sides (T8 to the rescue again) to remove them. *If you hadn’t noticed, I’m not really a “Pro”.
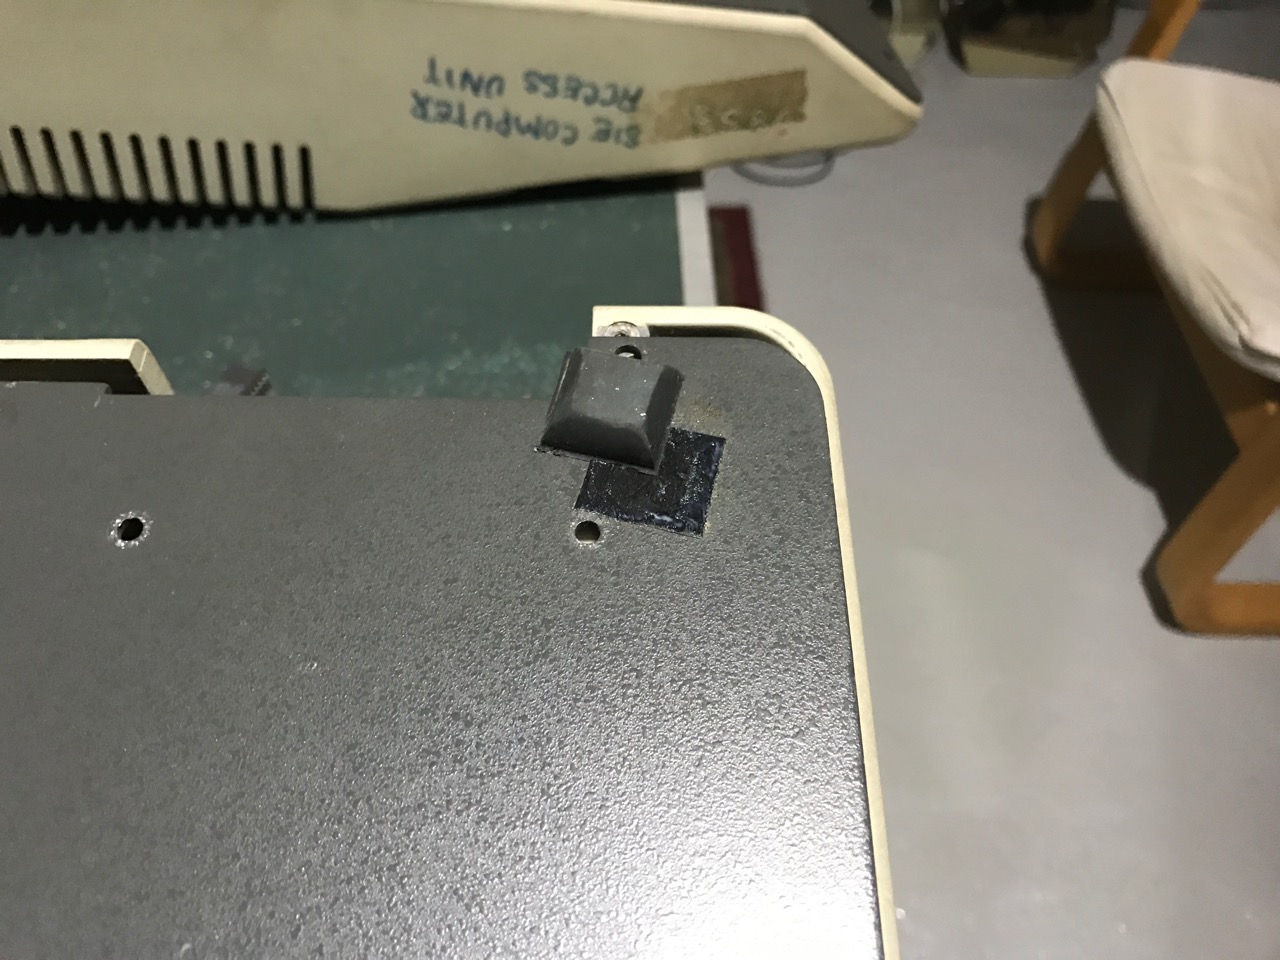
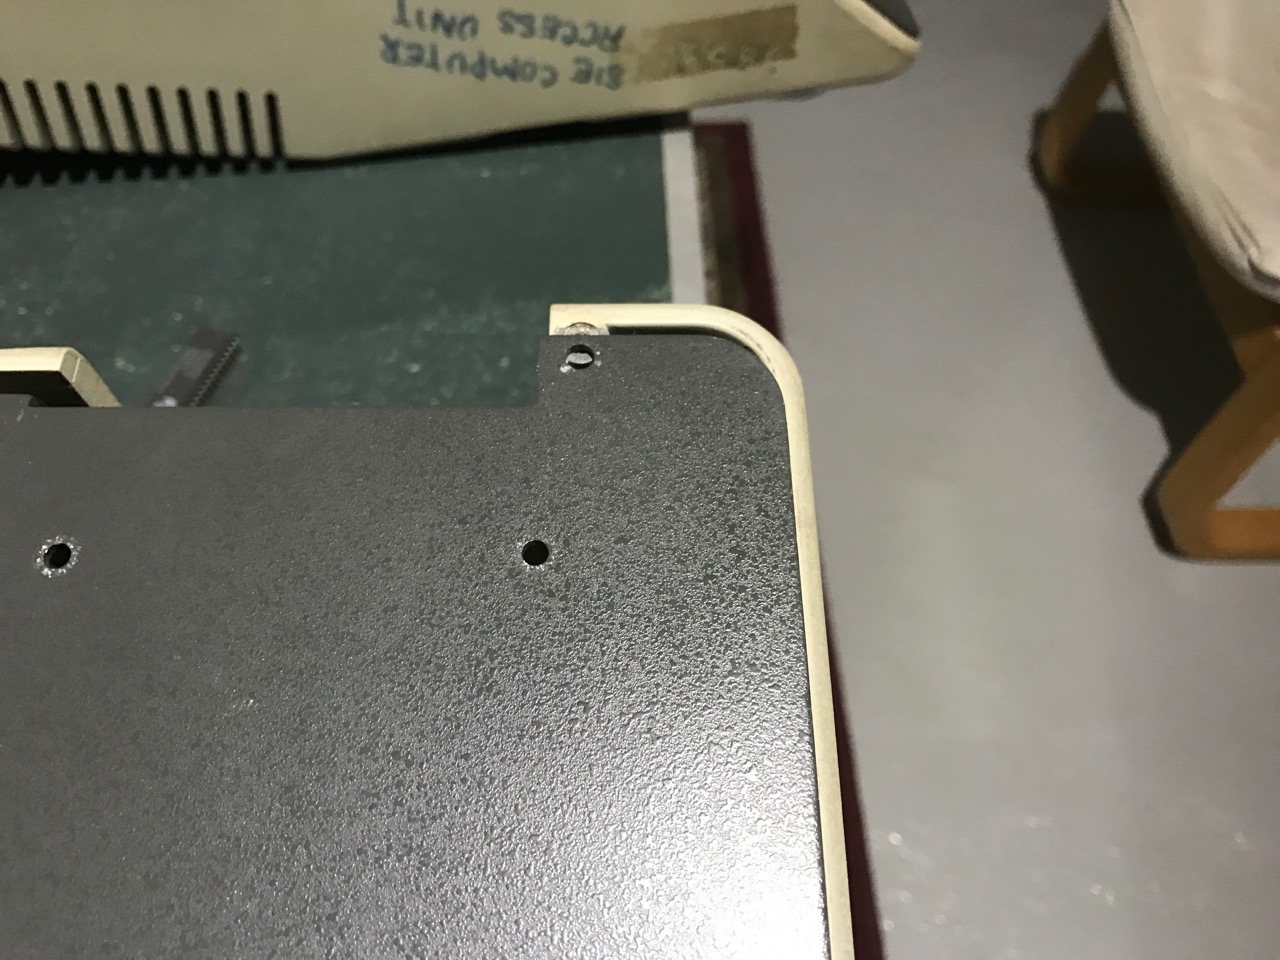
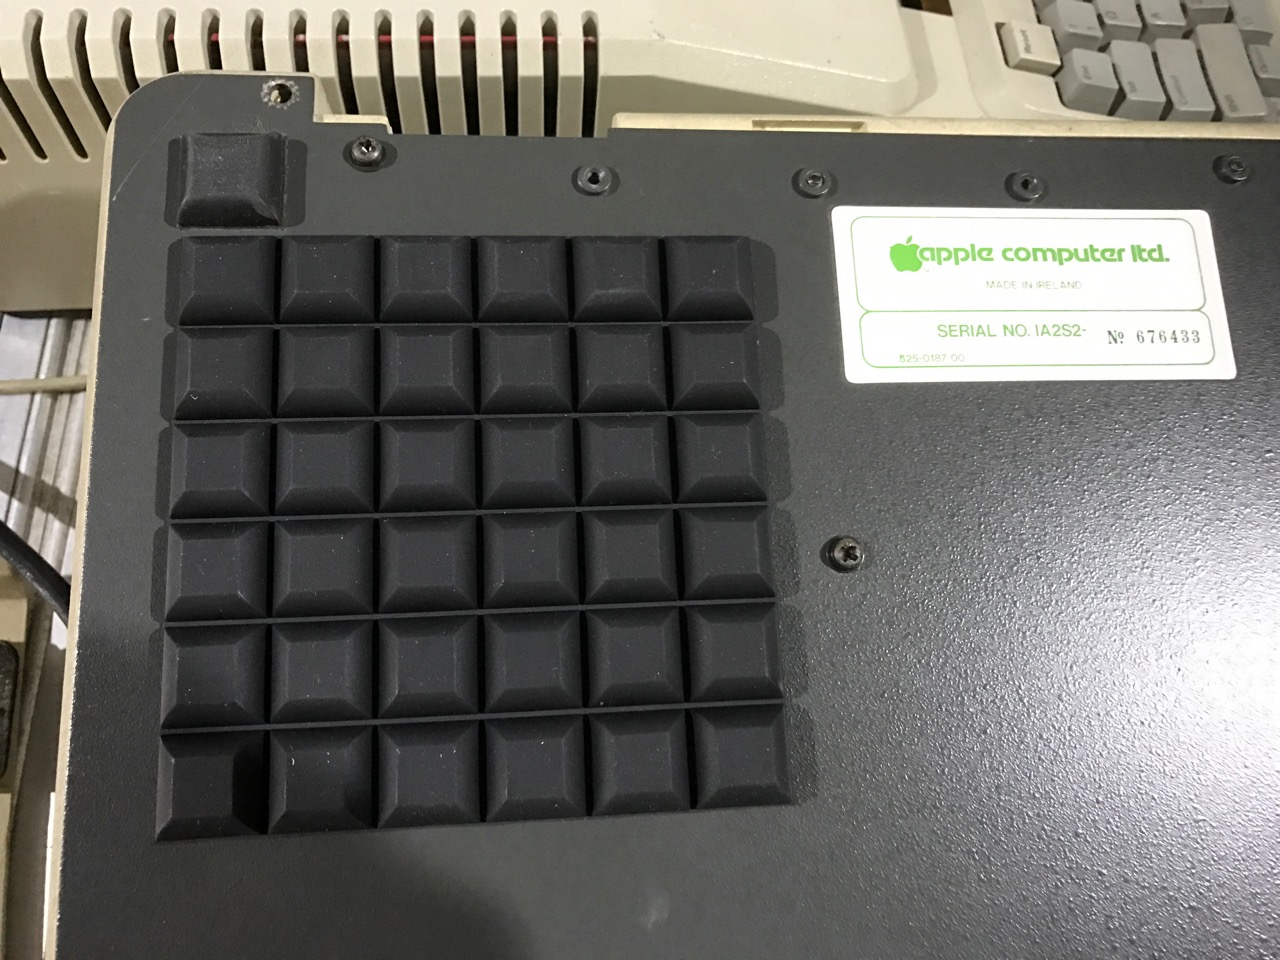
  • There’s a very clear winner in the “Solvent Most Likely to Clean Off Apple ][ europlus Rubber Foot Adhesive Gunk After 35+ Years Stakes”, and that winner is methylated spirits (locally known as “metho” [“Australia: the land of nicknames for everything” should be our national slogan]). Isopropyl alcohol didn’t do anything, and I worried that the gunk would get the best of me and my alcohol-fuelled (well, “alcohol-based”, anyway) attempts to rid myself of it – see the pictures below for some before and afters. This is especially happy news as I have a 20L drum of methylated spirits in the Man Cave, so I shouldn’t run out when it comes to cleaning all the gunk off all the bases!
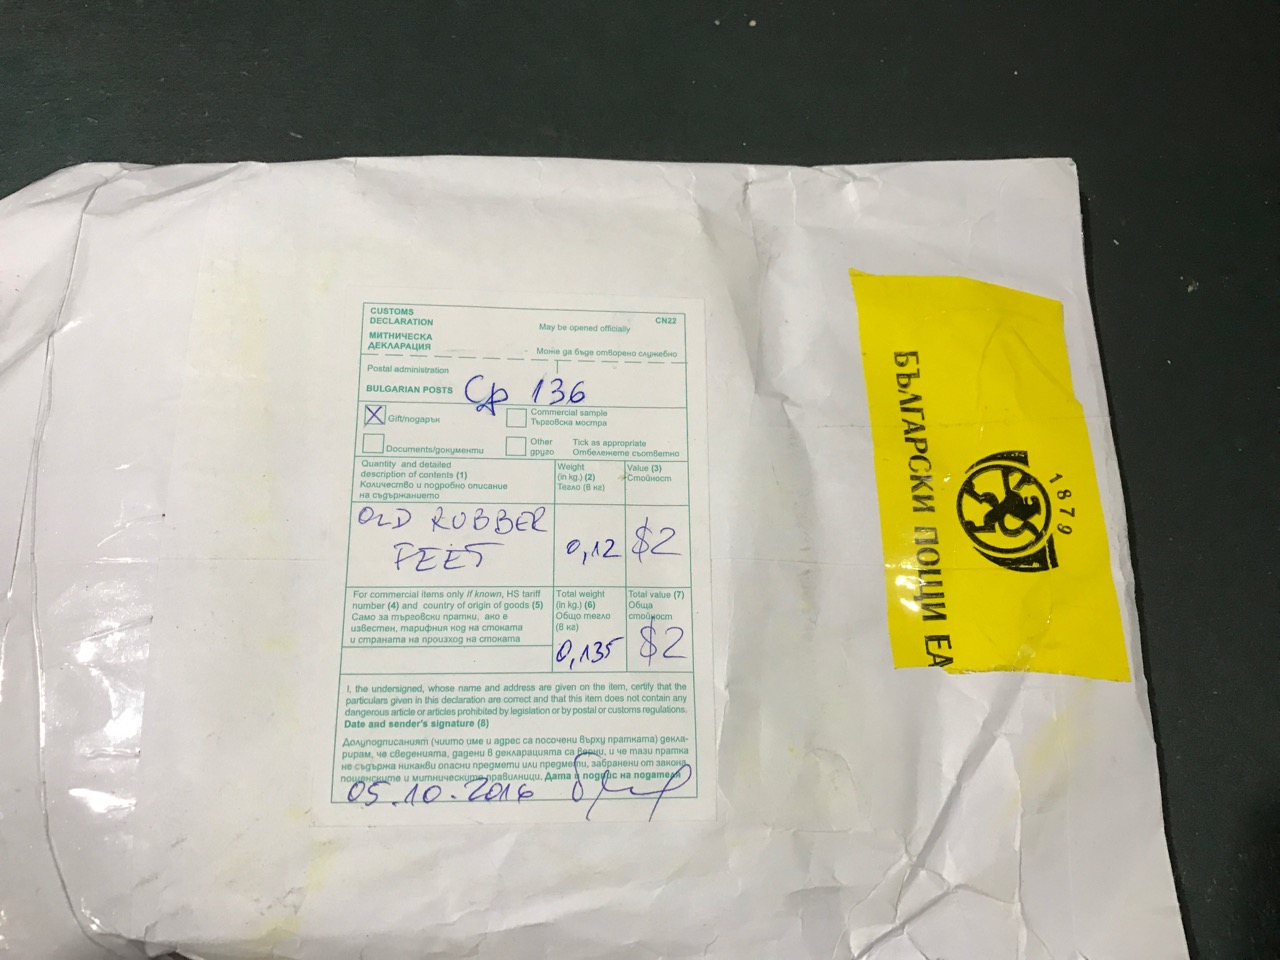
  • My second retro-themed Bulgarian purchase, which arrived last Friday, was a2heaven’s Apple II VGA Scaler – an Apple ][ interface card which provides VGA output for the Apple ][, the Apple ][+, the Apple ][ europlus (yay!), and the Apple //e. It supports both PAL (yay again!) and NTSC systems. I’ll write up a separate post on this card as I work through setting it up – I’ve got it basically working on my known good 8237 motherboard, but I have a glitch or two to sort out and I don’t want to get distracted so close to The Finish Line.
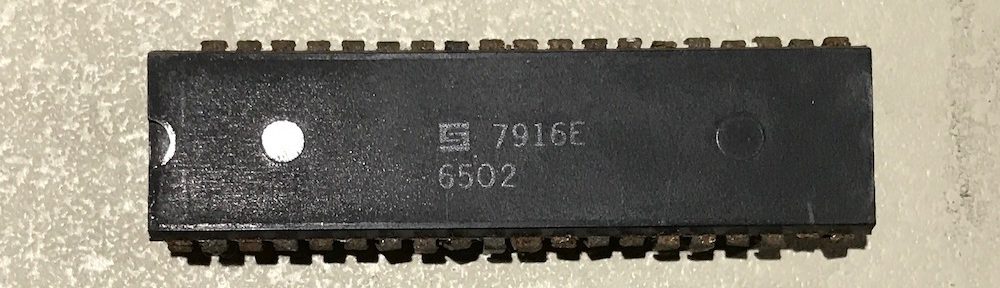
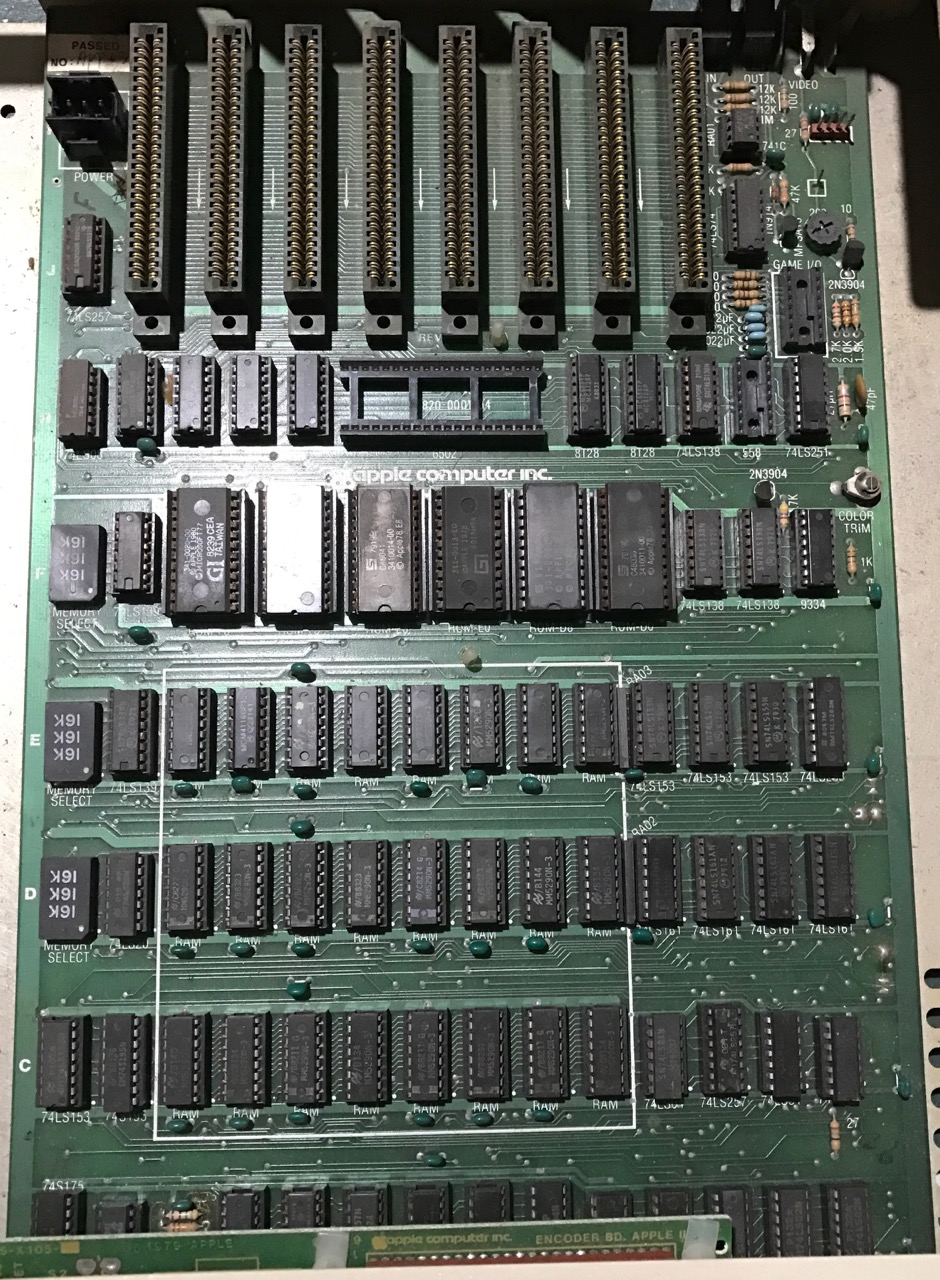
  • I went back to my original test monitor setup with my known good 8237 motherboard – it all worked and booted into the Dealer Diagnostics disk. So something else was wrong when I tested the next few machines which I’ll leave to another day to try and nail down.
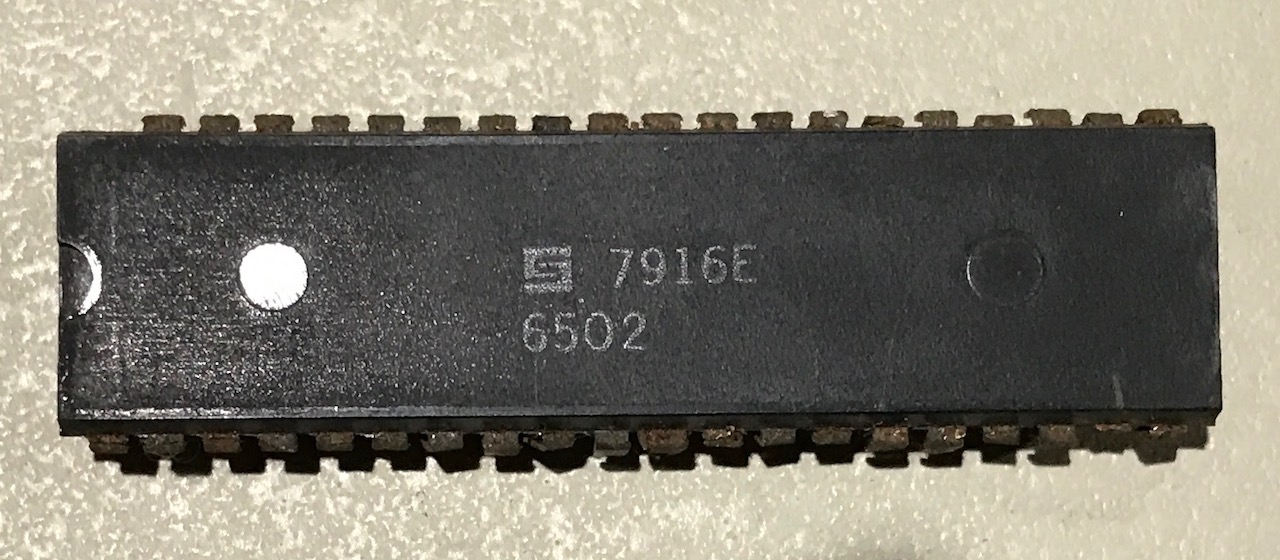
  • I’ve returned the donor ROMs and ICs I used while testing motherboards (as reported in my Half Time Report and Little Ray of (Retrochallenge) Sunshine posts). When I do finally get to test my motherboards and swap in components to try and get non-functioning motherboards working, I’ll do a much better job of keeping track of which components I swap to and from where.
  • I’ve not had time to think of anything else to add to my to-do list tonight, and it’s uncertain what I’ll get time to do in the morning beyond my final entry post – but at least I got to do tonight what I wanted to get done, so I’m happy about that.

Boy! Do I wish I was able to dedicate many more such sessions of time to my first Retrochallenge 2016/10 entry.

Well, I’ll leave my (not quite) post mortem to my final Retrochallenge post tomorrow morning.

On the ]HOME Stretch

Well, we’re definitely heading towards the Retrochallenge Finish Line – only 18 hours to go!

I’m hoping to get a few things done tonight and in the morning before the Midnight UTC deadline (we’re UTC+11:00 at the moment). This is partially justifiable as I got more renovations work done over the weekend than I expected, so I’m taking a little time off from those for this last-day push.

I have a few (mostly minor) tasks I’m hoping to get done:

  • Gather together like screws from the europlus disassemblies – they’re all over the place at the moment and I’m just going to use ziplock bags for the moment;
  • Crack open the remaining PSUs – I need to drill out two rivets on each (unfortunately I’m exceedingly unlikely to get to test any of the capacitors in the PSUs);
  • Test solvents to remove rubber foot adhesive from the baseplate – the baseplate is painted, so I’m hoping methylated spirits or isopropyl alcohol will do the trick;
  • Try out my second Bulgarian delivery, which arrived on Friday (details to follow on what should be my penultimate Retrochallenge 2016/10 post);
  • Check what’s going on with my test monitor setup, although that may be less important now my second Bulgarian delivery has arrived (hint, hint);
  • Put back the ROMs and ICs I’ve moved from spare machines – I’ve decided to be more methodical about swapping chips, including documenting what I’ve tested on each motherboard (this will take it outside the scope of this Retrochallenge); and
  • Anything else I can think of that I have time for while I work on the above!

I’m currently reasonably confident of doing all but the last item on that list before the official close of Retrochallenge 2016/10 – let me know in the Comments what’s on your home straight to-do list.

A Little Bit of Persuasion, Not Much Progress

Well, I was right, the third beer was very persuasive and convinced me to battle on and check more machines.

However, I’ve not had much joy, with the next three machines all exhibiting video glitches. The second and third of those are, I believe, booting the diagnostics disk, but the screen image on two separate monitors is patchy. It’s obvious it’s at the same menu system, it’s just that it’s actually illegible.

I’m going to call it a night. I need to check whether the glitches are happening on the (now) known good europlus (motherboard 8237), as I’m beginning to suspect the monitor, monitor cable or even the PSU I’m using to test the machines with.

Troubleshooting where the issue is will have to wait for another day, though – probably after the weekend. At least I’ve gotten something done, so my conscience will rest easy tonight.

A Little Ray of (Retrochallenge) Sunshine

Another short post, another little bit of progress to report…

As per my Retrochallenge 2016/10 Half Time Report, I hadn’t had much luck firing up my new favourite europlus, even after replacing the 6502, the ROMs and several logic chips.

A couple of nights ago I decided to press on with the next machine along on the table tennis table (motherboard 8109, see my Updated Census)…and didn’t get much further. Similar issues to my early motherboard – no boot or garbage on the screen.

This is one of the two I picked up during my Retrochallenge Roadtrip, and is the one with a funny case, umm, “adjustment” (read “butchering”) around the keyboard and a missing PSU, so maybe it was only being used for parts or was a “project”.

I’m not doing deep analysis of the faults at the moment, I haven’t had the time. But, there I was this early Friday evening, listening to the RCR Podcast Episode 139, enjoying a quiet beer with machines behind me screaming for attention and feeling guilty about not doing much on my entry while Head Judge John Linville is saying kind things about my blog posts in his half time report (apparently, I’m a “pace setter” – let’s not talk about what pace, however). So I thought I’d check the next machine along, motherboard 8237.

It booted successfully into the Apple ][ Dealer Diagnostics disk! It passed Motherboard RAM and ROM Test! It passed the Keyboard Test! I found a Silentype Interface Card Test amongst the menu options! (OK, that last one is not related to my Retrochallenge 2016/10 entry, but I have one of those and knowing I can test it is A Good Thing™.)

So, that’s a win (albeit an admittedly small one). Given I’m now enjoying my second quiet beer, I question the wisdom of doing any more Retrochallenge-related work tonight, but I’m sure the third (possibly) quiet beer might talk me ’round.

Let me know in the Comments below what alcohol-fuelled work you’re getting to in your Retrochallenge entry (you did enter, didn’t you?!).

Happy (Rubber) Feet

A very minor update today (and I’m not sure how much I’ll get done over the weekend as I’m supposed to be concentrating on some renovations-related woodworking)…

A parcel arrived from Bulgaria today: 36 rubber feet to replace those on the bases of my europluses.

I bought enough to do nine bases – so I’ll have plenty for the six europluses I’m hoping to totally refurbish and make complete.

Some of the existing feet are missing, some have been replaced with screw-on ones, and some have just migrated over time like some weird micro-scale (Ha! see what I did there?!) continental drift.

I’m planning on removing all the original feet, cleaning the bases of all adhesive residue, and “installing” four feet per base.

The match is pretty good (see Figure 1) – they were advertised as NOS Apple feet, but, given the slight differences, they’re either (likely) later versions than europlus-era, or ones which just happen to be very similar.

Funnily enough, I’m expecting another Apple ][-related delivery from Bulgaria, but the highly appropriate goods description (see Figure 2) on the customs declaration put paid to any thoughts of having hardware to play with before I’d even opened the package.

I hope you get to do more on your Retrochallenge entry this weekend (you did enter, didn’t you?!) than I’m expecting I’ll get to.

Retrochallenge 2016/10 Half Time Report

And you run and you run to catch up with the sun but it’s sinking, racing around to come up behind you again. The sun is the same in a relative way but you’re older – shorter of breath and one day closer to death.

Time, Pink Floyd

Well, one day closer to the end of Retrochallenge 2016/10, anyway.

Have I made much progress since the last update? Maybe not in the grand scheme of things, but I have done a few things…

I opened three of my PSUs to check a part number for Mark Cummings, a fellow Australian enthusiast who is working on schematics and parts lists for Apple ][ power supplies – he and Dean Claxton have already released details of the 240V DynaComp PSU used in the Apple //e (primarily the Enhanced //e).

The other three PSUs will need the pop rivets drilled off, and I just haven’t gotten to that task yet. But I’m that little bit closer to testing the PSUs’ capacitors.

I also put one of my new Synertek 6502s into my new favourite europlus, as well as an NE558 chip which was missing from the motherboard and tried to boot it up.

It’ll definitely need more work – it was crashing out of the CFFA3K boot menu, displaying rubbish on screen, repeatedly crashing to different memory addresses and the cursor even looked odd.

In the end I had to set the Apple ][+ Dealer Diagnostics Disk image as the boot image on another machine. I then was able to boot into the diagnostics software, and I could move around the menu options on that disk via the ESC key, but I couldn’t press Return to run the selected test.

Just as well I’m old and remembered that the Control-M is an alternative way to get the Carriage Return character – it worked! So there may be a problem with the Return keyswitch.

Doing the ROM test said to replace the D0 Applesoft ROM, so that’s another repair task. I’ll try and get to that and cracking open the rest of my PSUs by the end of the week…but that sun is already sinking, racing around to come up behind me again!

An Unexpected Discovery

I was reasonably settled in thinking, going by serial numbers, that I had mid-age to very young europluses (see my europlus Census).

However, my realisation that there was a lot of variation in the motherboard green colours led me to look more closely at them all and I realised that one motherboard had dark green (rather than black) slots with feet with fixing screw holes…and that got me looking at that motherboard more closely still (see Figure 1 below).

That motherboard is the only one without a date code – in the usual location it has written on it “APP031” (or “APPO31”). It also has the memory select blocks common on early revision motherboards, but it’s one of the three motherboards with a 65C02 I had incorrectly replaced the original 6502 with years ago, so I couldn’t check the date code on the original CPU.

Or could I?

I keep everything…I admit it, I’m a hoarder. I knew I had two of the three replaced 6502s in the antistatic tube my last unused 65C02 was in. Their date codes were 8135 and 8243, which seemed consistent with the date codes on the other 65C02 motherboards in 700105 and 667843 (4182 and 5182 respectively).

But I was sure I wouldn’t have only kept two of the three replaced 6502s, and I had a vague recollection of a loose 6502 in one of my small plastic boxes. Luckily, I knew where that box was, and when I checked, bingo! There was a 6502.

And oh, what a beautiful 6502 it was. Bent pins. Missing pins. Corroded pins. But, oh…that date code!

7916

For a europlus, that is early.

From what I’ve read, europluses were available from June 1979, and were manufactured until December 1982.

Given the style of motherboard, such an early CPU, and the number 31 as part of the writing where the motherboard date code should normally be, could it actually be a 7931 motherboard?

This site says the board’s revision (Revision 3, part number 820-0001-04 visible under CPU) was in production from roughly 7934 to 8030, so we’re in the ballpark.

7931 would be a manufacturing date in late July 1979. You wouldn’t find many surviving europluses that old. And I’ve got a 5182 motherboard – one of the last/youngest – along with several in between those two. The completist in me is quite satisfied with that sort of mix.

I knew other chips, such as memory chips, also have date codes on them, so I investigated their date codes…my heart started to sink a little: 8251, 8325, 8211, 8134 – these were not uncommon date codes I was seeing.

But I kept looking, and found others such as 7928, 7926, 7930, and one ROM’s date code of 7919.

I think at some point, probably in the early 1980s, this motherboard was refurbished with then-current components. Maybe it was even combined with the machine which originally had the serial number 669150 (which is the serial number on the base), as that’s right in the mid-range of serial numbers.

On that basis, I’m going to re-unite this early europlus motherboard with the early europlus base plate that I got during my Retrochallenge Roadtrip (614494) – I may also have an early keyboard and keyboard encoder that were with that early base plate, but that’s an investigation for another day.

I’ll then have an early europlus as part of my collection, which is a very nice feeling.

I’d be interested to hear what unexpected discoveries you’ve made in your collection in the Comments below.

A Census of europlus PSUs

I think this tabulation of date codes is going to become the most tedious part of my Retrochallenge entry – but I’m using the fact I’ve entered Retrochallenge to push past the tedium and just get it done.

Having the data and then using it to align the various components will satisfy some deep OCD tendency within me, so apologies to those who were hoping for more Magic Smoke™ and soldering.

So, in my continuing series of serial number and date code compilations, I give you my 2016 europlus PSU Census:

europlus SerialPSU SerialPSU StampPSU Date Code
66784316008255049957
669150262944T062072561
700105159252T062104427
671330286510621312428309
653677261275T062079965
676433No PSU
Label-less248169T062074871

The “PSU Stamp” is punched into the metal on the side of the PSU near the motherboard’s power molex connector and is on all of the PSUs…except the highest serial numbered PSU, which is also the only one with a date code anywhere externally. See the Figure 1 below for a stamp example and the sticker.

The number listed under “PSU Stamp” for that PSU and the date code is on a sticker in the same location as the other PSUs’ stamped number. The sticker has a dot matrix-printed serial number and date code (and the serial number is different to the number on the main label). This sticker looks very much like the stickers on the silver //e PSU.

I don’t know what the stamped number and sticker serial number represent vs the serial number on the PSUs’ main label, and would appreciate any info on that in the Comments below.

Another external difference is that PSU 160082, which is the only PSU with a stamped number not starting with “T” (see Figure 1), has a sticker at the switch end with the Apple logo and product details (see Figure 2 below) – I wonder if this was from a batch of 110V cases they repurposed for use on 230V units?

I’ll be looking for date codes elsewhere inside the case, but I suspect there won’t be any – there are certainly none obvious on the spare keyboard and keyboard encoder card I have, so I won’t be doing a census of those (“Hooray!” I hear you say).

I will be, however, comparing the date codes of chips on the motherboards vs the QA date code hand-written on them so I can see if I can come up with a rule of thumb and estimate a date for the un-dated motherboard (in the currently lid-less 669150 case). It may just come down to the 6502 date code vs the QA date code if that seems consistent.

As I start to look more closely at the motherboards, I’m noticing differences in the green colour of the board itself, and one board has dark green slots with “feet” (which have holes in them, presumably for fixing via screws/bolts) vs the other motherboards’ black slots. But documenting that sort of thing is really a project for another day…

Have you ever done a refurb like this, documenting such minutiae as you go? I’d be interested to hear about it in the Comments below – primarily so I can see if I’m the only freakperson in the world who would do such a thing.

Late europlus Census Info

So, I’m home from my Retrochallenge Roadtrip (and very tired), and I have some info to add to my europlus Census. Here’s the updated data…

Serial numberDate CodeCPUNotes
IA2S2-669150no date code65C02wrong (apple ][plus) lid
IA2S2-667843518265C02no speaker or joystick socket
IA2S2-700105418265C02
IA2S2-67133081186502
IA2S2-61449482376502previously no label
IA2S2-65367781316502
IA2S2-67643381096502no PSU

(Note: that table is sortable – click on the little up/down arrow icon that appears next to columns headers as you hover your cursor near them to sort by that column. When you do, you’ll see how out of sync the motherboard date codes are vs the serial numbers.)

Among the changes beyond adding the two new machines, I have assigned the base plate I sourced from Jeremy with serial number 614494 to the machine with the label-less base plate, and I found the PSU for 671330.

676433 has had its case modified around the keyboard – it looks like it was meant to move the keyboard 3cm to the left and leave a 6cm wide gap for something(?) to the right of the keyboard. I originally thought it was for a numeric keypad, but 6cm isn’t wide enough.

It also has a 9-pin D-SUB connector at the top of the keyboard encoder card – the other machines’ keyboard encoder have a screen-printed outline for a connector there, but no notation.

If anyone has any clues or pictures of these two mods from back in the day, please let me know in the Comments below. I’ll try and do dome searching when I’ve recovered somewhat, but I would not reject a shortcut to the info.

What this all means is I may end up with six functional machines – I’ll likely move 676433’s lid to 669150 (which is lidless/wrongly lidded), not bother getting another PSU, and have spare parts from 676433’s motherboard (or swap the motherboard into one of the other cases).

While I’d rather have seven fully functional and complete machines, sourcing a spare PSU, lid and unmodified top case may not be feasible (without getting a whole extra machine, which would leave me with the same remainder of parts), so I guess I’ll have to be satisfied with having spare parts for six.

I already had a clone motherboard for parts, and Jeremy has lent me another clone motherboard, a europlus keyboard, and a keyboard encoder card for spare parts as well.

So, my current Retrochallenge status is:

I’ve not done much actual work (driving for 7+ hours doesn’t quite count), and I’ve now got more work to do!

And we’re almost a week in…phenomenal!

How’s your entry going?

A Retrochallenge Roadtrip

I wasn’t really expecting to go any further than the local Jaycar Electronics store for new capacitors as part of my Retrochallenge entry.

I certainly wasn’t expecting a 650km round-trip roadtrip, but that’s what I find myself undertaking today to expand my europlus Refurbapalooza.

The main purpose of the trip is to pickup two europluses I’m adopting – they normally live 1700km north of me in Townsville, Queensland. Their current owner, Chris (who donated an EDD+ card to me for disk imaging work), is visiting our national capital, Canberra, so I thought a day’s roadtrip early in the month would allow me to include these two machines in my entry. I’m going out of my way as Chris is gifting them to me – I couldn’t really expect him to drop them off as well!

One machine is missing a PSU, and the other’s operational state is unknown. I’ll post an updated census once I have them all at home.

While in Canberra, I’m also picking up a europlus case base with original sticker I’ve acquired (thanks, Jeremy!) – one of my europluses is missing its label, so it’ll be nice to have labels on them all by the end of Retrochallenge 2016/10. The machines are already a weird mix of date codes vs serial numbers, so I’m taking the liberty of grabbing this serialised base for the label-less europlus.

Hopefully, that’ll be the bulk of my Retrochallenge travelling done for the month – at least it won’t be said I didn’t go the extra mile (or 400 miles) for my first Retrochallenge entry!

Let me know in the Comments section below the furthest you’ve gone specifically to pick up gear for your retrocomputer collection.